Directory Sync
Directory Sync for Your Organization
Directory Sync will allow your organization to provision and de-provision accounts with your directory provider.
Note: Only administrators with 'Owner' privileges have access to directory sync settings for your organization. Refer to how to set owner status for more information.
Configuring Directory Sync
How to Retrieve SCIM API Endpoint
-
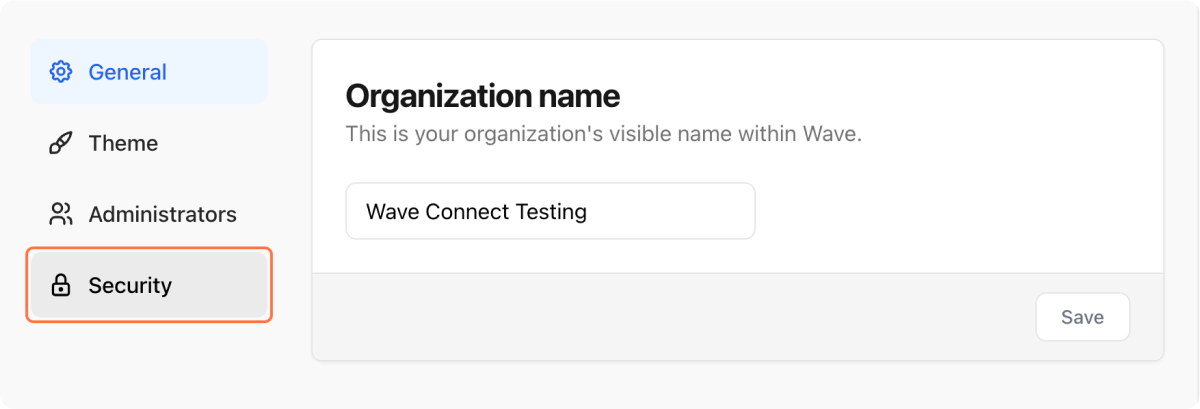
Navigate to the 'Security' tab under your organization settings on Wave.
-
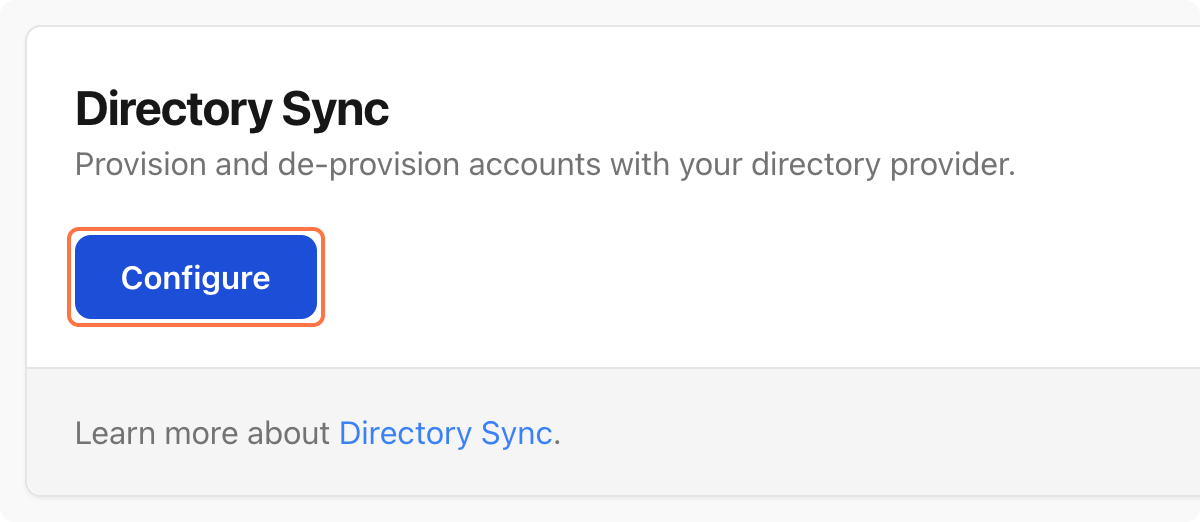
Select 'Configure' under 'Directory Sync.'
-
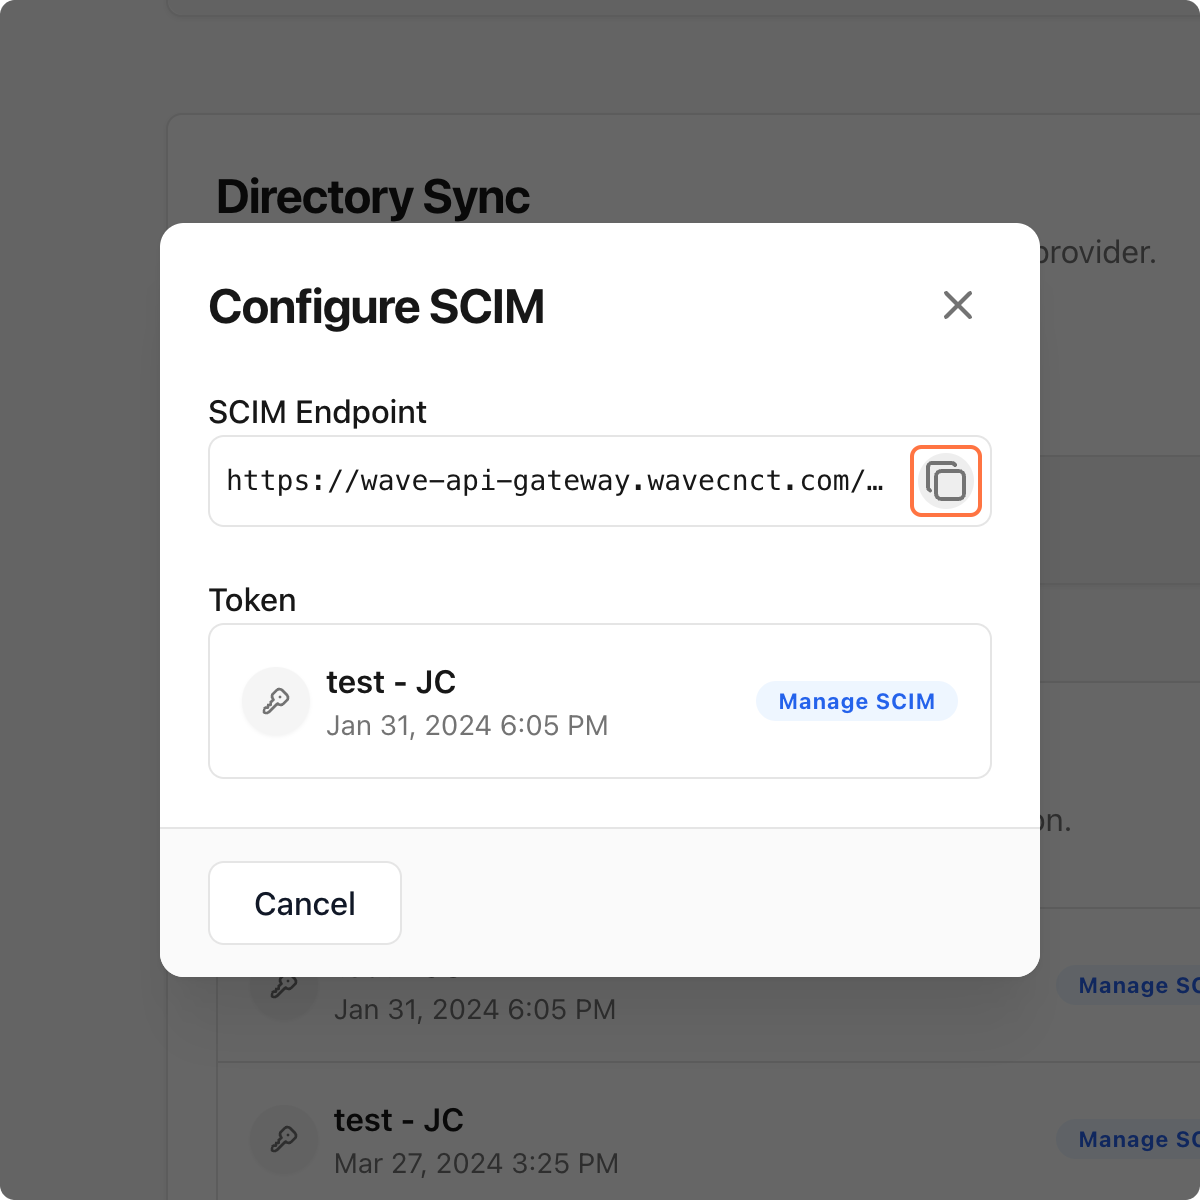
Copy the SCIM endpoint by clicking on the clipboard icon.
How to Generate Access Token
-
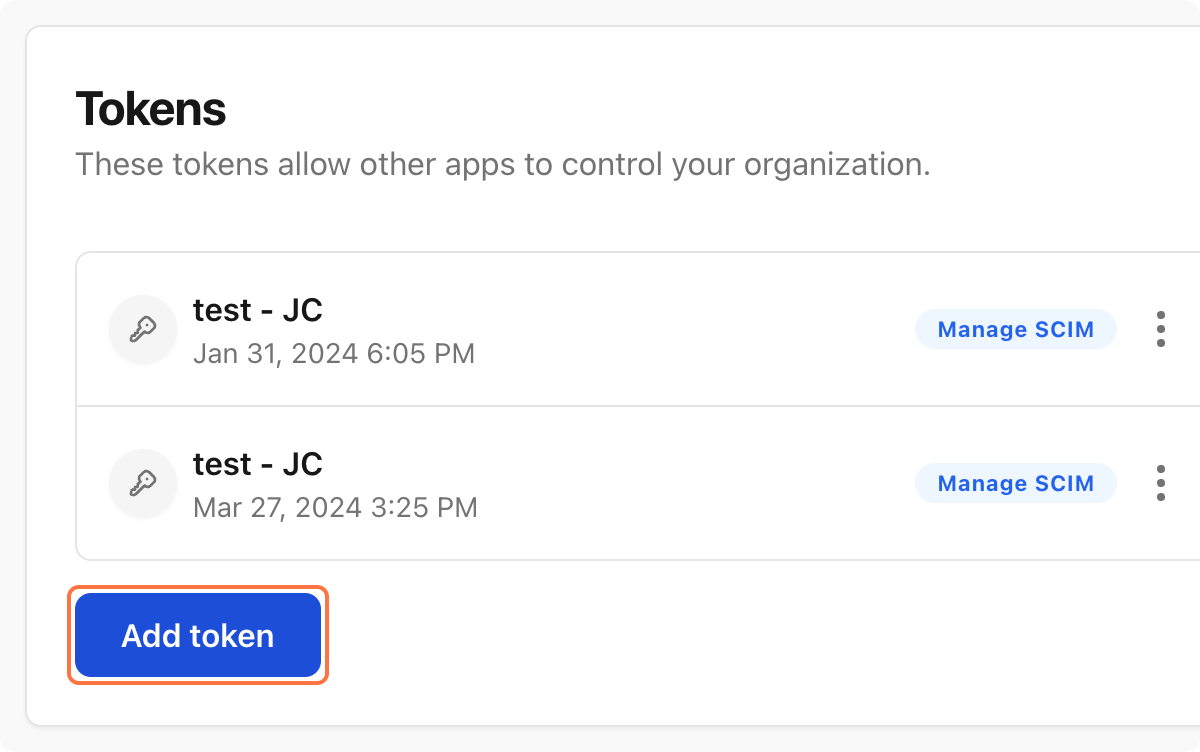
Navigate to the 'Security' tab under your organization settings on Wave and select 'Add token' under 'Tokens.'
-
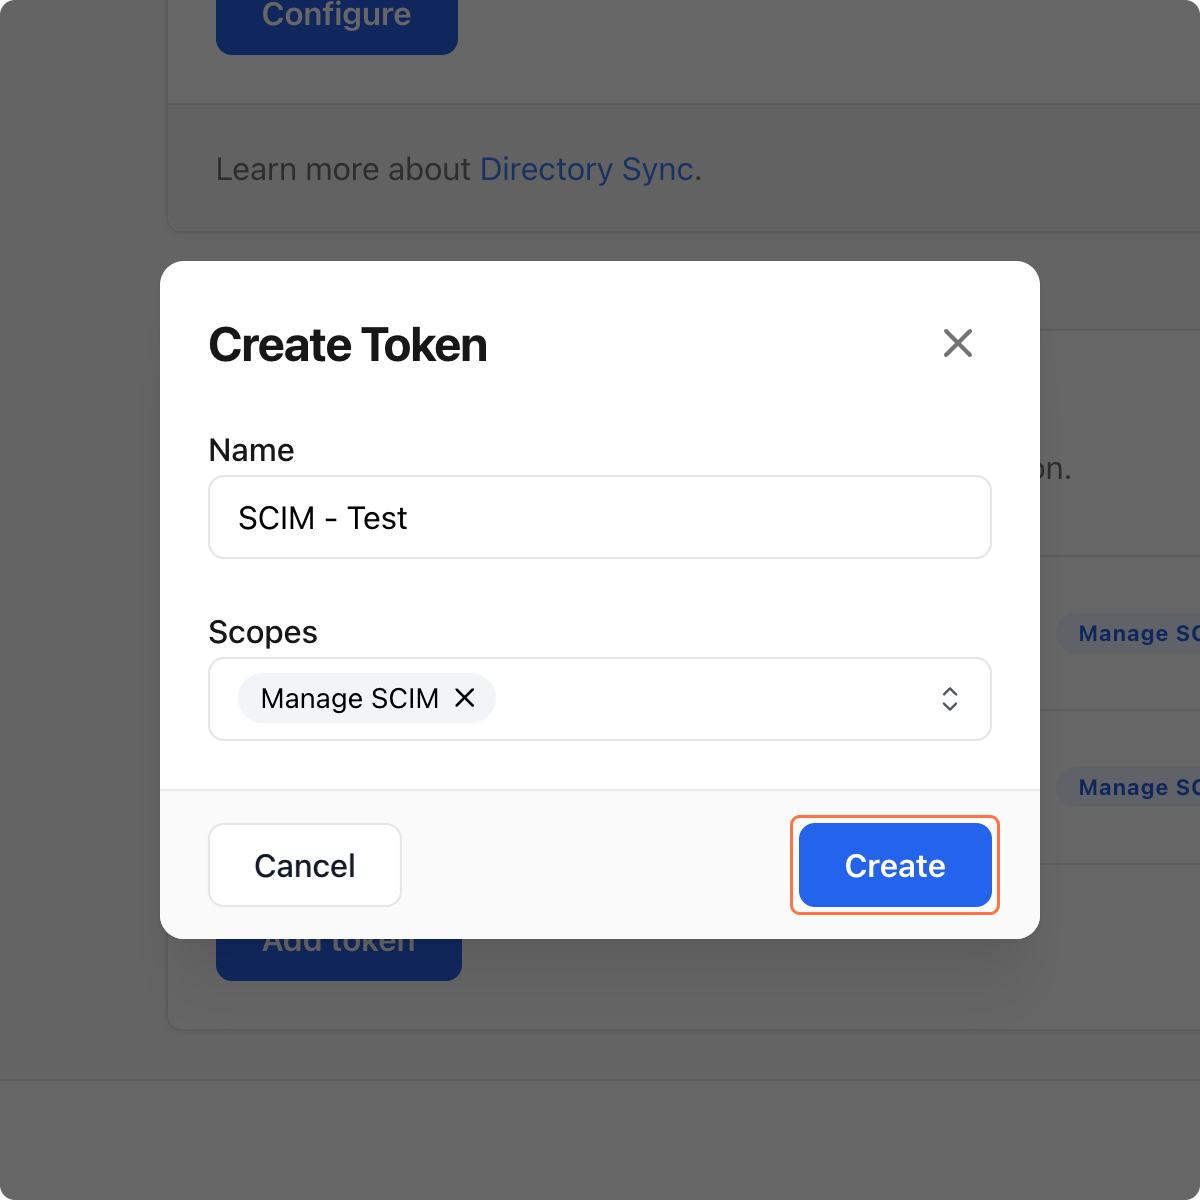
Assign a name to your token, select 'Manage SCIM' for 'Scopes,' and press 'Create' to generate a new token.
-
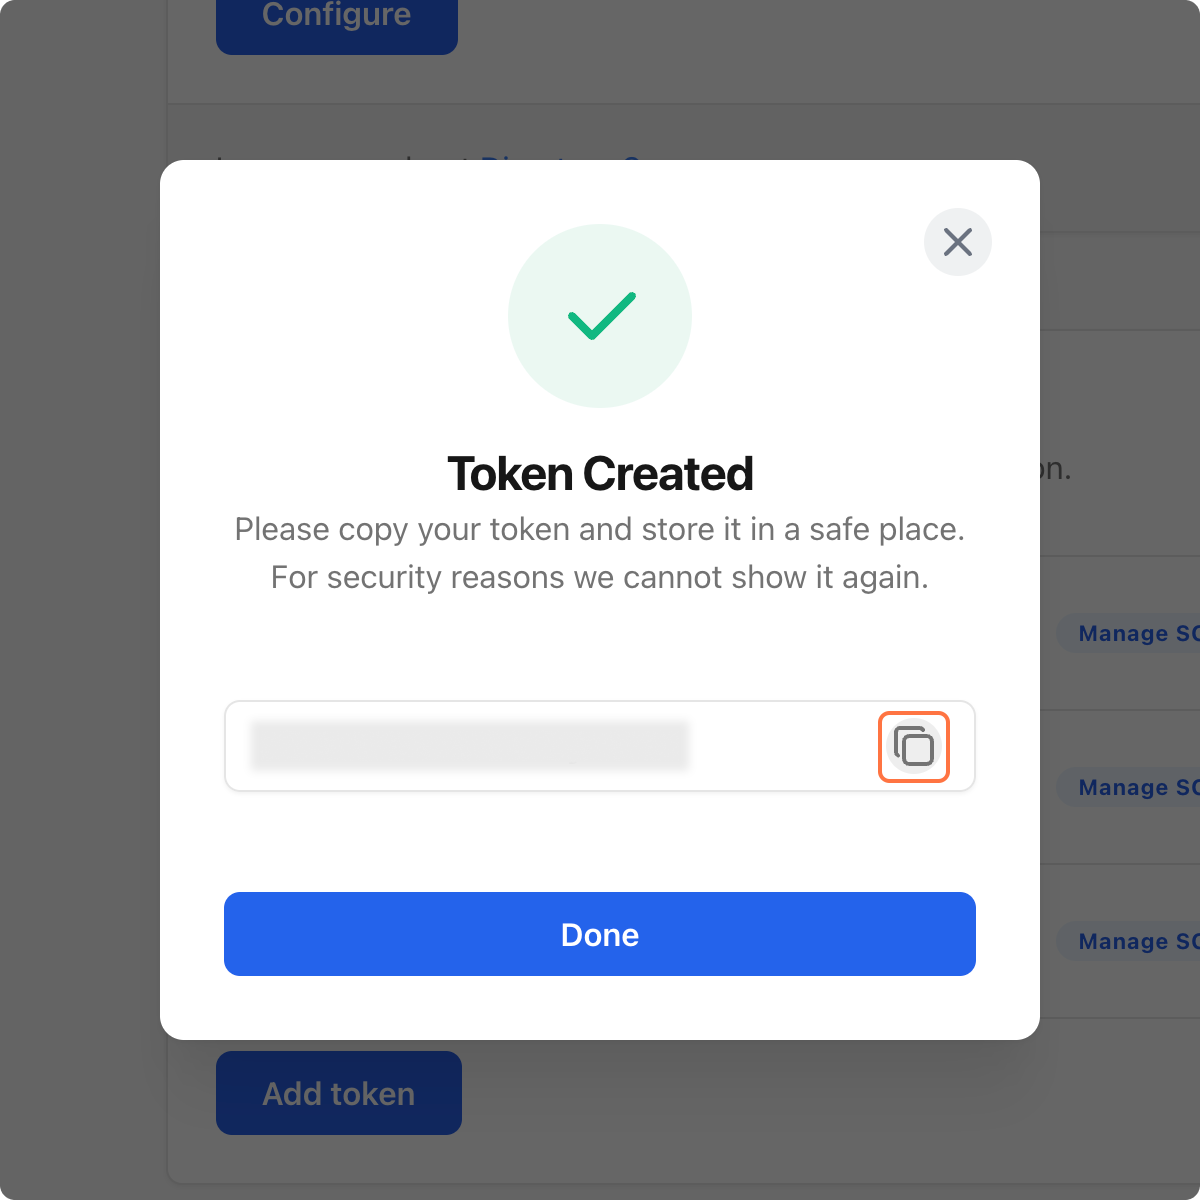
Copy this token by clicking on the clipboard icon.
Set Up Provisioning for Your Organization
Microsoft Azure
-
Navigate to 'Enterprise applications' under your organization's overview page.
-
Select your desired Azure application or create a new one (learn more about creating a new application on Azure).
-
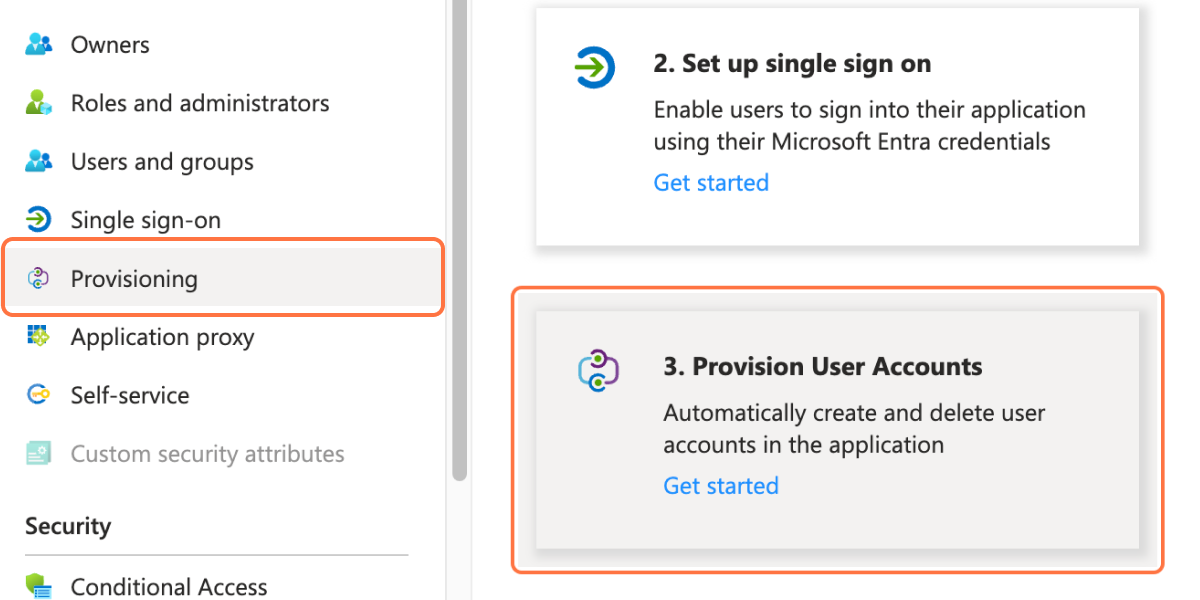
Select 'Provision User Accounts' or navigate to 'Provisioning' tab in the side bar menu.
-
In the new page, click on 'Get started' to set up provisioning.

-
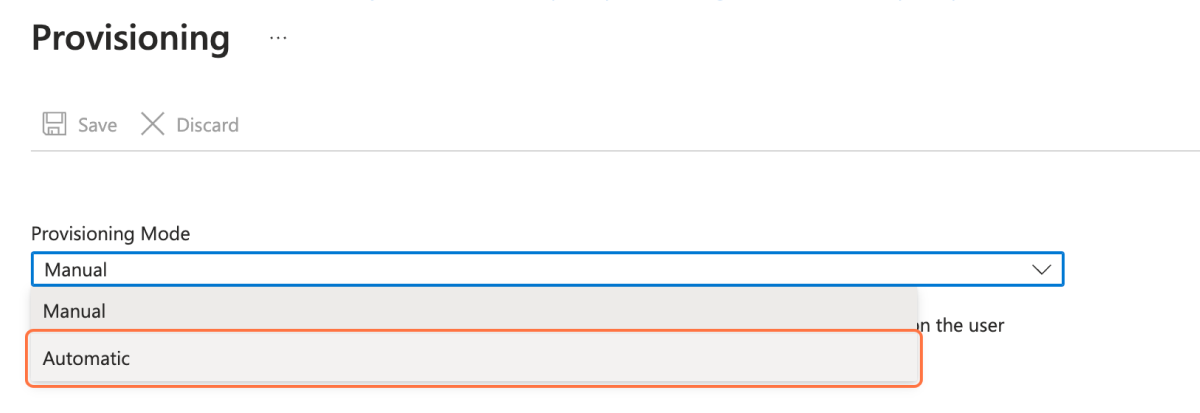
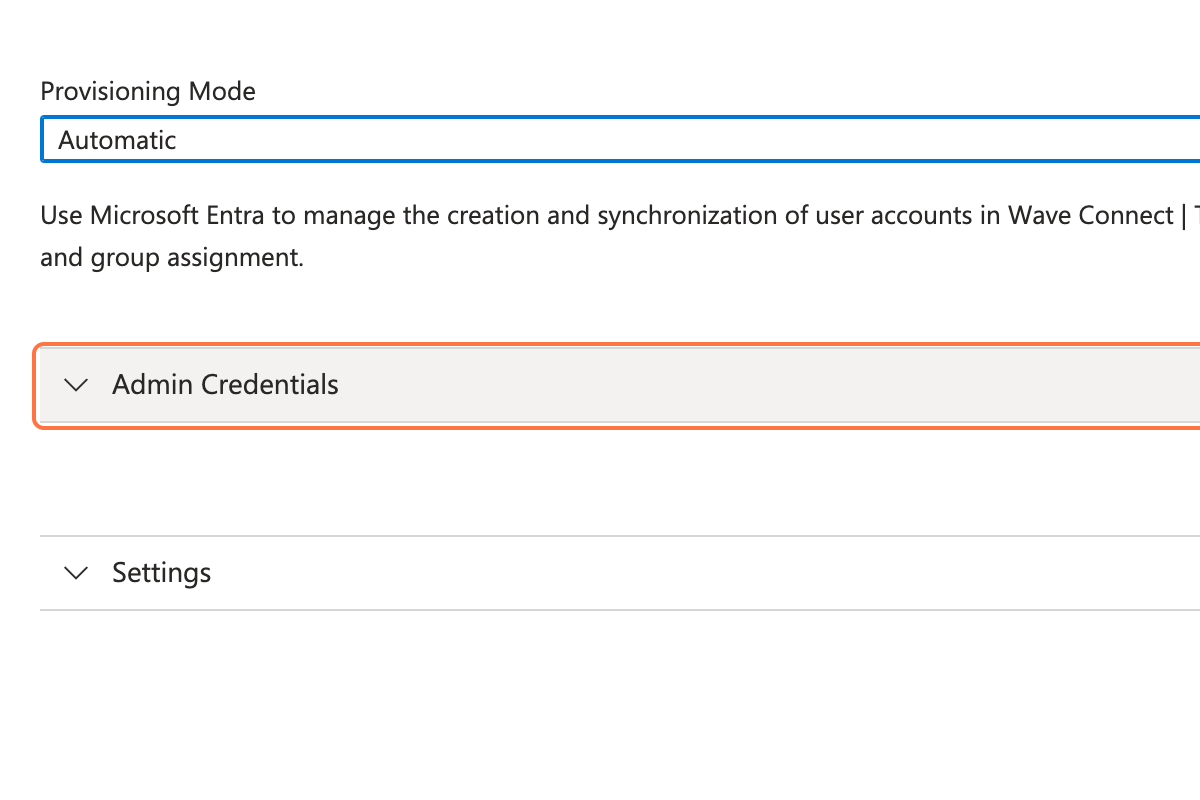
Map 'Provisioning Mode' to 'Automatic.'
-
Navigate to 'Admin Credentials.'
-
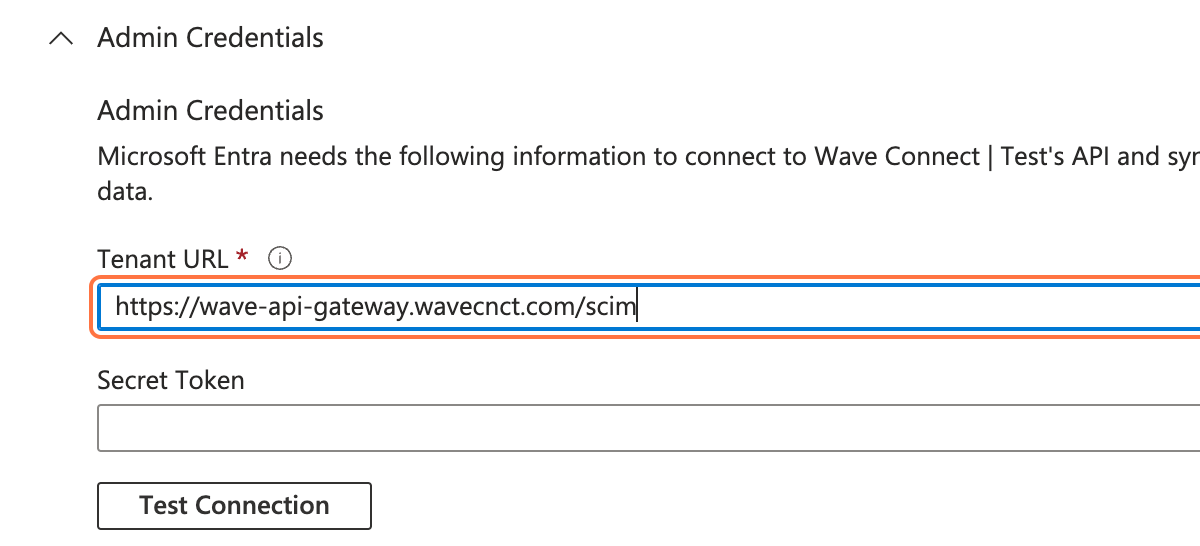
Paste the SCIM URL endpoint under 'Tenant URL' field on 'Admin Credentials' under your application's provisioning page. Refer to our guide on retrieving your organization's SCIM endpoint URL for more information.
-
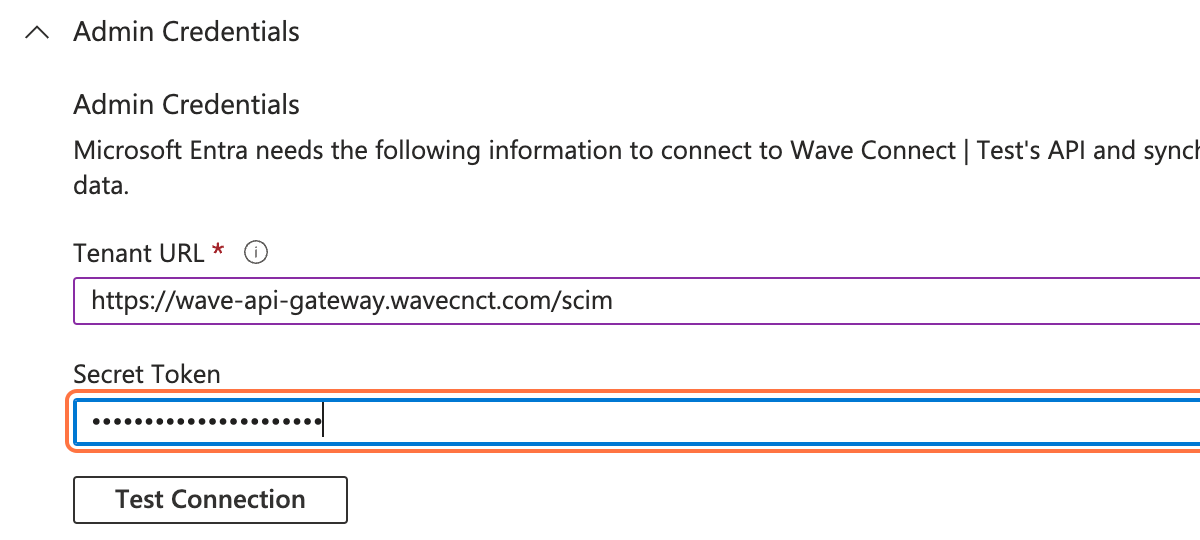
Paste your security token under 'Secret Token' field on 'Admin Credentials' under your application's provisioning page. Refer to our guide on generating access token for your organization's API for more information.
-
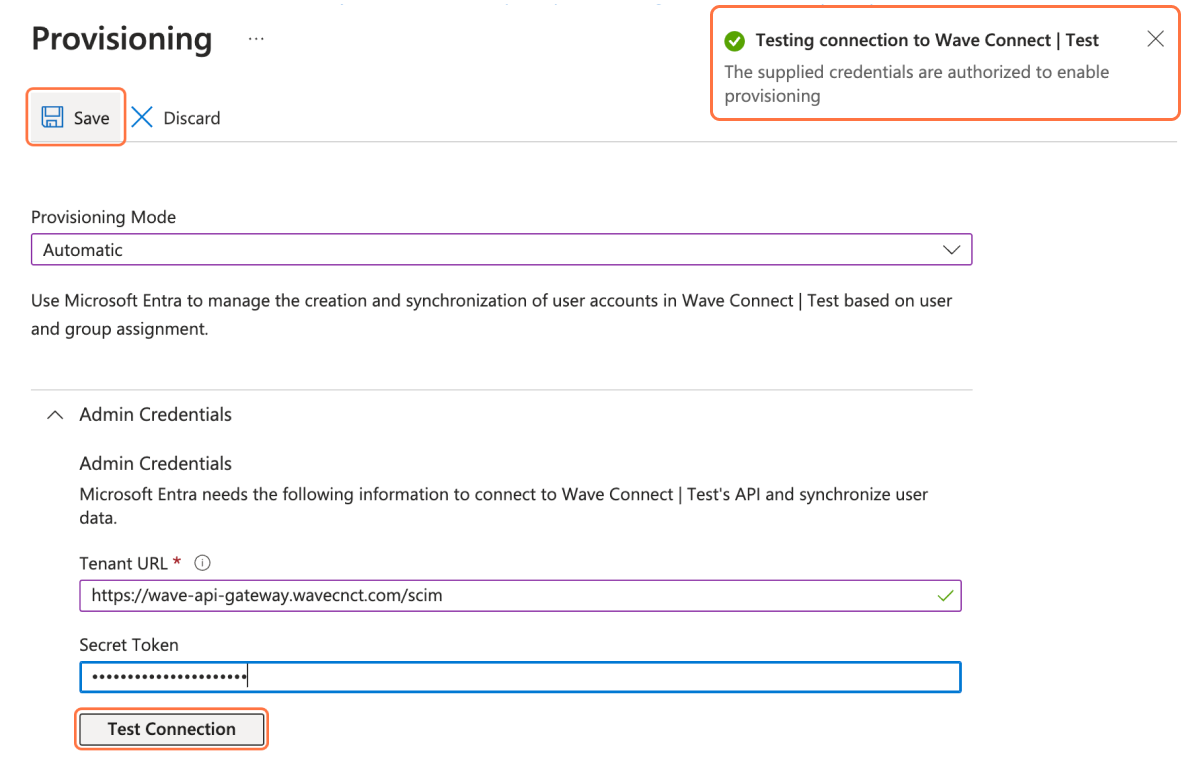
Click on 'Test Connection' to test your SCIM connection. You should receive a confirmation message from Azure. Once your connection is validated, click on 'Save.'
-
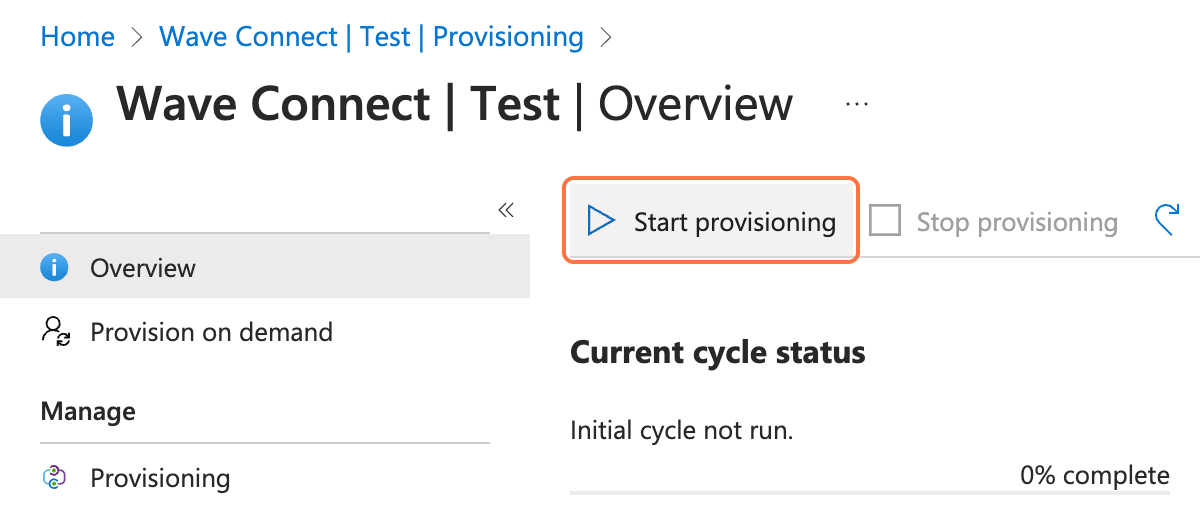
Return to the provisioning menu and select 'Start provisioning.'
Assigning Member to a Team
Microsoft Azure
-
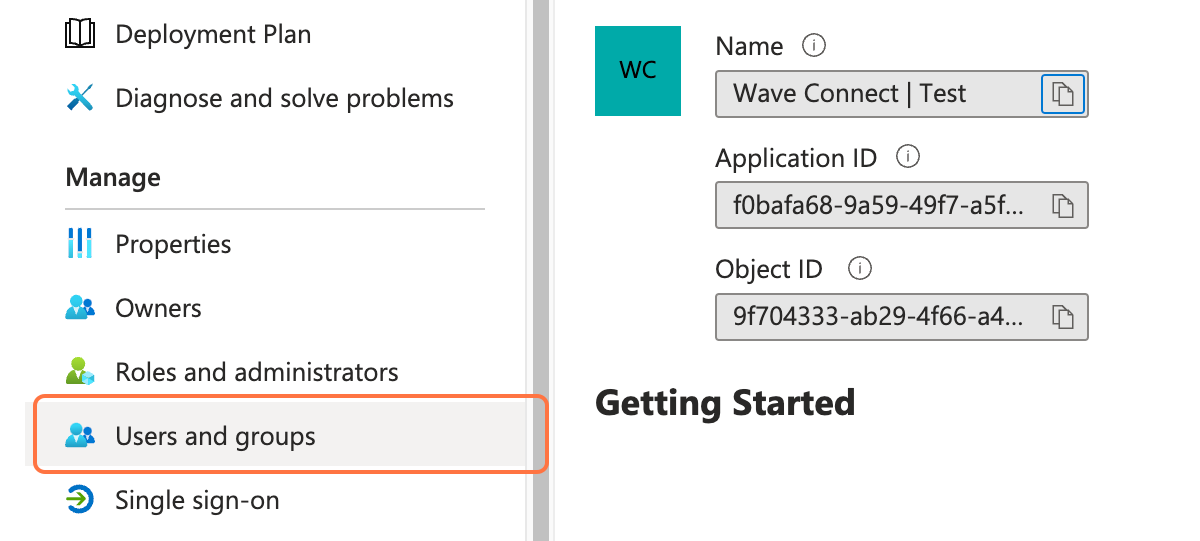
Navigate to 'Users and groups' under the side bar menu of your application overview page on Microsoft Azure.
-
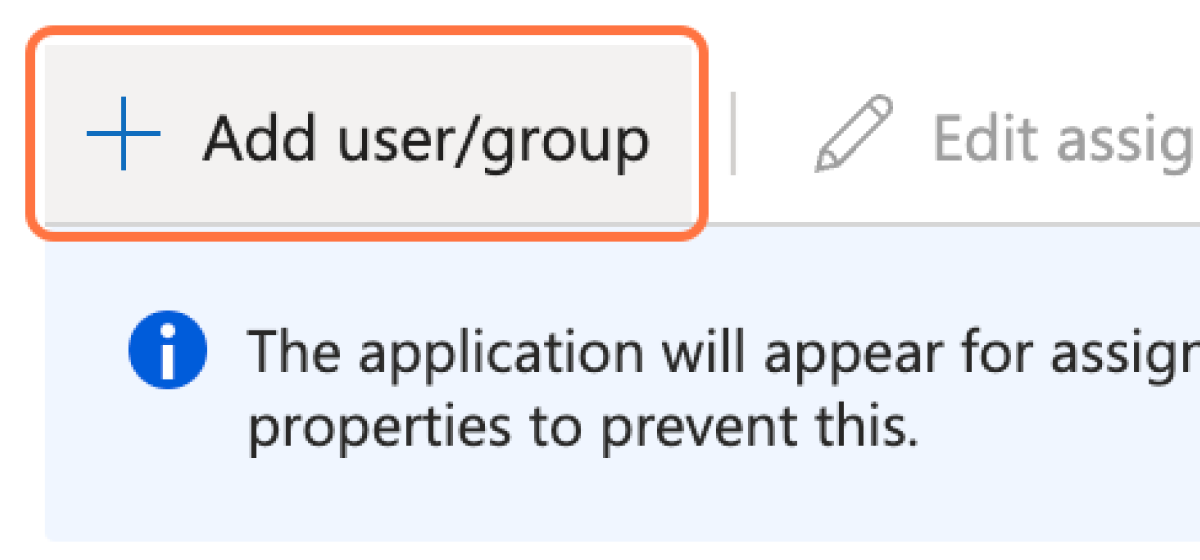
Click on 'Add user/group.'
-
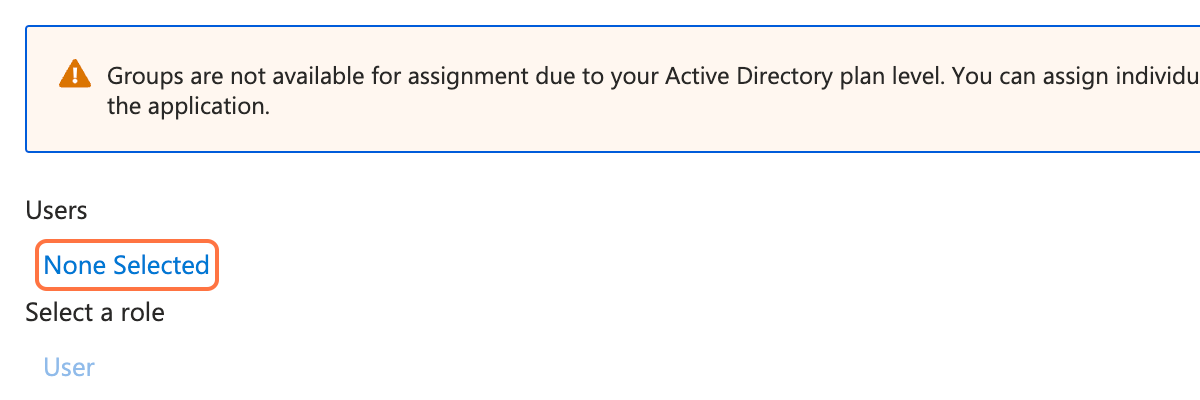
Click on 'None Selected.'
-
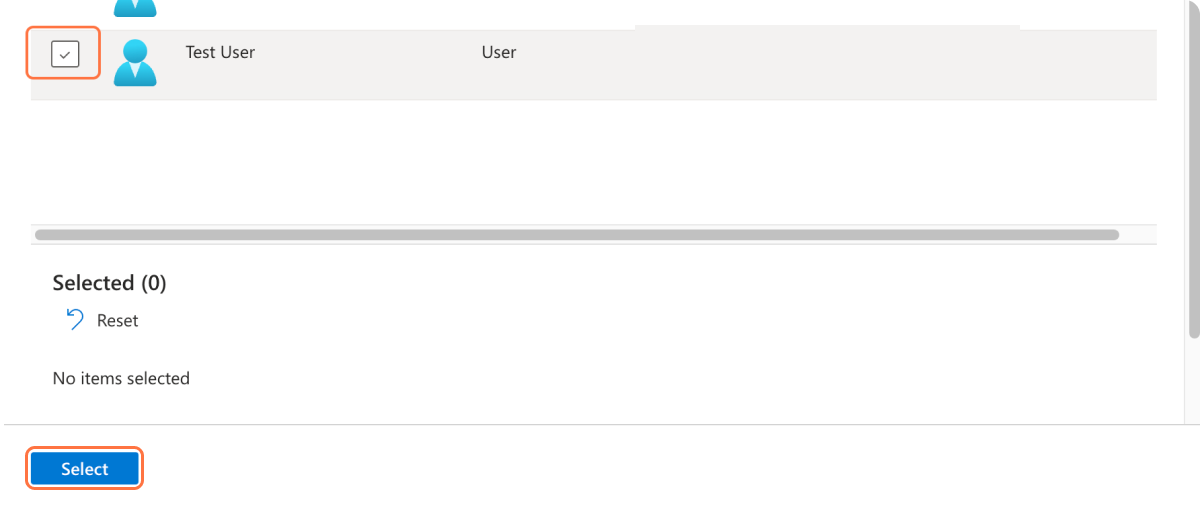
Select the users or groups you wish to add to your application then in the following page press 'Assign.'
-
Users assigned to your application will automatically sync to your team on Wave.
Note: Users assigned to an Azure application will require a valid email address for provisioning to work properly.
De-provisioning Member
Microsoft Azure
-
Navigate to 'Users and groups' under the side bar menu of your application overview page on Microsoft Azure.
-
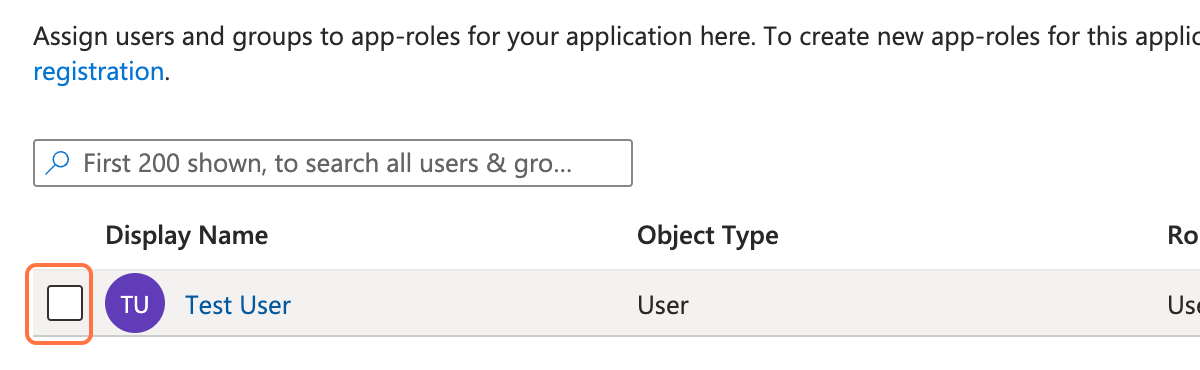
Select the users or groups you wish to remove from your team.
-
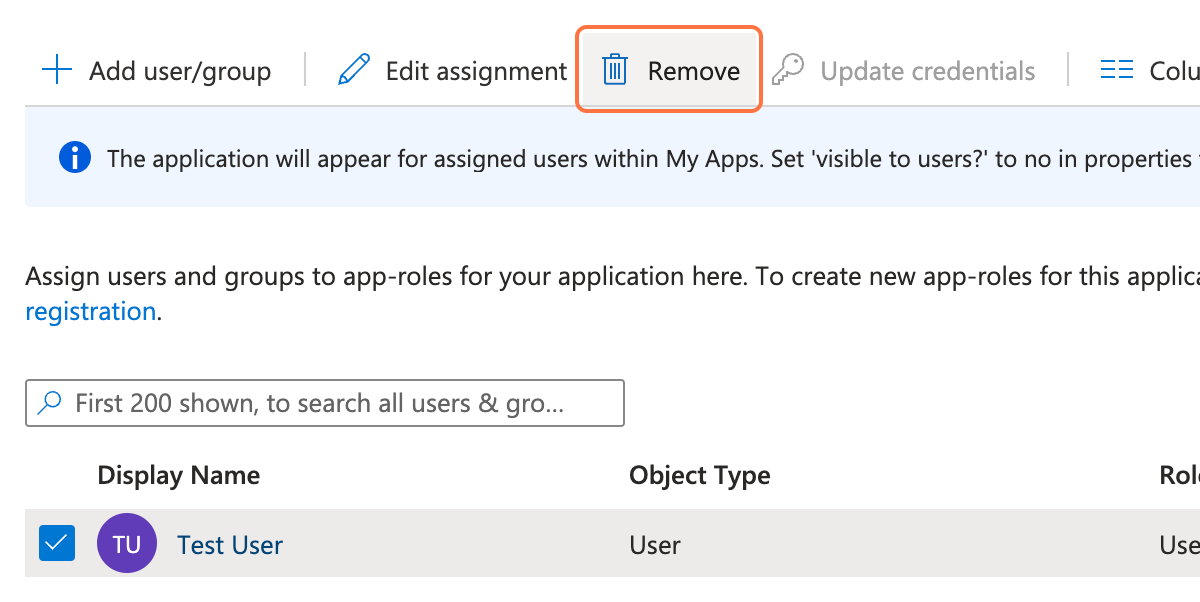
Click on 'Remove.'
-
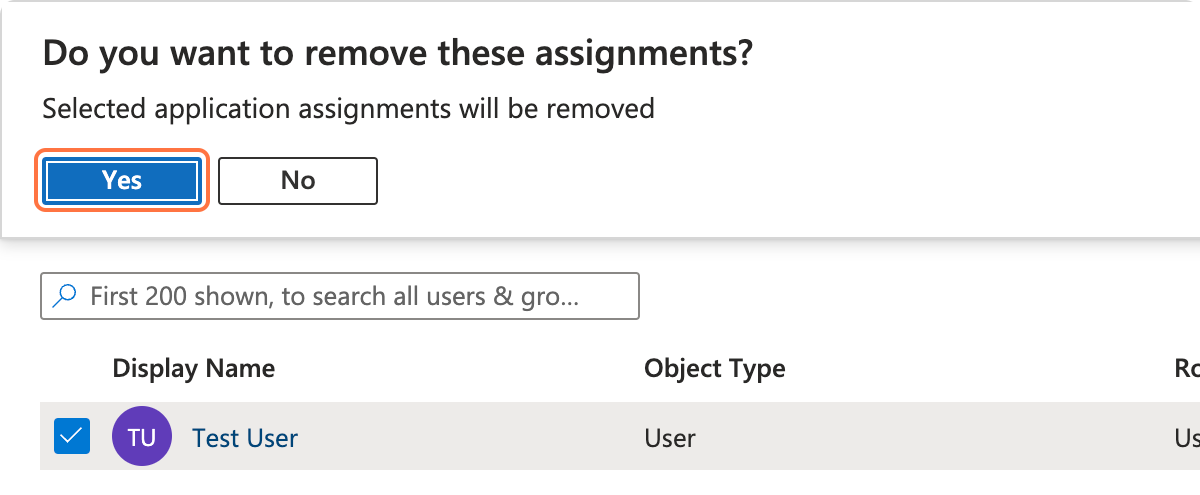
Click on 'Yes' to confirm your removal request.
-
Users removed from your application will be automatically deleted from your team on Wave.
How to Set Owner Status
-
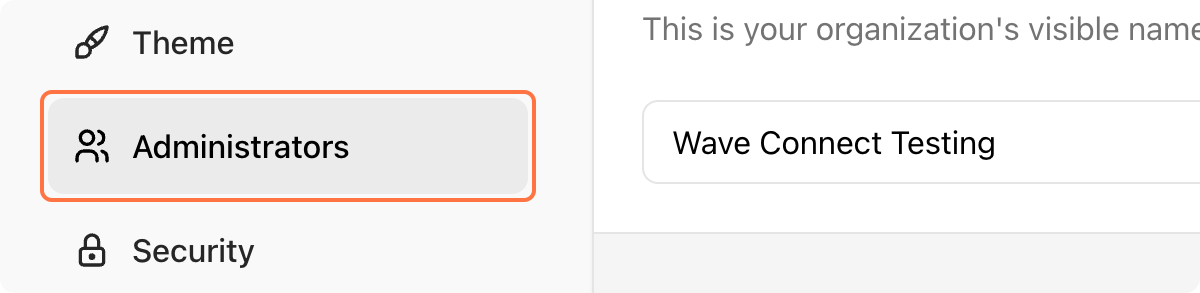
Navigate to the 'Administrators' tab under your organization settings on Wave.
-
Click on the 'Edit' icon next to the admin you wish to assign as Owner.

-
Set user's role to 'Owner' then press 'Save.'

-
New owner will receive a confirmation email in their mailbox.
